May
Purpose of Lineweights
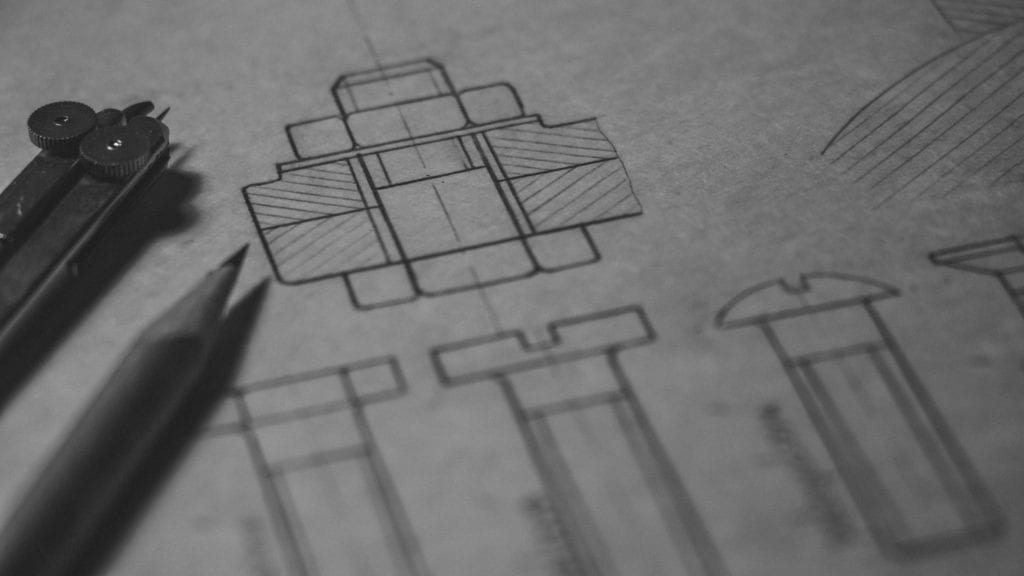
Lineweights help to make our drawings easier to understand by assigning thicker lineweights to the most important objects in the drawing and thinner lineweights to the less important ones. By assigning these different lineweights, we basically add depth to the drawing and help simplify their legibility, which is very important in our industry, where a simple mistake due to the lack of legibility in the drawing can cost a lot of money.
Different drawings will require that we treat lineweights differently, but the most important thing to keep in mind is that the information we want to convey is actually conveyed, for example, in a floor plan, the textures would play a more secondary (or tertiary) role in comparison to the walls, which are the ones that define space and thus our proposed design.
Having said this, it is important to master lineweights to be able to create drawings that are easy to read and minimize misunderstandings or errors that can get us in some serious trouble.
Let’s talk about a few drawings and how lineweights should be treated in each one. Be aware that even though there are drawing standards, like the AIA standard, which is a good reference/starting point, not every studio uses them, and they end up drawing plans in their own way. Different users will work in different ways, so keep an open mind about this topic, analyze the drawing that you will be working on and decide which is the best approach in terms of lineweights.
- Floor plans: there are different types of floor plans: architectural floor plans, construction floor plans, structural floor plans, electrical floor plans, partition plans, etc. Let’s focus on the architectural floor plan for now. An architectural floor plan is the graphic solution to space distribution, which has to do with many factors (program/client needs, orientation, size, views, winds, etc.) that we won’t cover here, but at least we mentioned them. Since we are designing spaces, and walls are the objects that define these spaces, then the walls should be the most important objects in the drawing and thus, they should then have the thickest lineweight. These spaces are connected to other spaces by doors and connected visually to the exterior by windows, so doors and windows are the next important objects in the plan (next lineweight thickness down). From there on, we would assign thinner lineweights to furniture, dimensions and textures and other objects, since they complement the space, but they don’t define the spaces like walls, doors and windows do.
Now, let’s take the example of a structural floor plan, where we are mainly focusing on the engineering part (columns, beams, foundation, etc.). In this case, the walls wouldn’t be the most important object in this drawing, but the structure, so in this drawing, the walls would be of secondary/tertiary importance. - Elevations/Sections: In the case of elevations and sections, we assign lineweights by depth so that we can understand the project better in terms of spatial relationships. In this case, the closest objects to us would be thicker and the farthest away ones would be the thinner. This helps to understand the depth of the drawing better and to make a 2D drawing look more 3D (volumetric). Also, when drawing elevations/sections, shadows can also help to understand them better. In case you add shadows, make sure they are not the main focus of the drawing, but more of a secondary thing that helps to read better but doesn’t overpower the drawing.
- Electrical Plans: The purpose of electrical drawings is to show all the wiring in the project, so in this case, the wires, as well as the outlets/switches would be the most important objects in this drawing. Walls would define the areas that we are trying to wire, but they wouldn’t be the most important object in this particular drawing, so once again, walls would be of secondary importance.
As you can see, each drawing will be slightly different in terms of lineweights, and this makes sense since we are trying to focus on different aspects in each one. Although there are a lot of people who say that walls should always be the thickest lineweight in all drawings, it is important to analyze the drawing and decide what information we are trying to convey. The answer to what information we are trying to convey will give us very important clues as to which objects should be drawn with the thickest lineweights.
Another thing that helps a lot to make the drawing more legible and that plays really well with lineweights is hatching (poché) the inside of the objects that are being cut, like walls in a floor plan, or any object that a section line cuts through. This poché helps to make the walls/objects pop out a lot more, which in turns helps to identify spaces a lot easier (in the case of floor plans for example).
Now, what about using colors? Wouldn’t that help even more to differentiate objects? The answer to this question is yes, colors definitely add more depth and variation to the drawings, but the practical answer is no! We cannot print every drawing of the project (especially when we print them a lot of times during the life of the project) in color, that would be very expensive and, in the end, this is a problem that we can totally solve with lineweights at a cheaper price. Additionally, some of these drawings will need to be photocopied, and colors don’t translate that well into photocopies.
When working in Revit, most of the lineweights are already pre-configured. In fact, Revit does a good job right off the bat with lineweights, as opposed to AutoCAD, where you need to configure them manually yourself, but it is always a good idea to revise all these lineweights before committing to them so you can rest assured that you are using the best ones. You an even create view templates where you can configure lineweights, plus a lot more things so you can apply these settings to the views you select. This way, you can have a view template for floor plans, a view template for structural plans, a view template for electrical, etc. Read the View Templates in Revit post for more information about them.
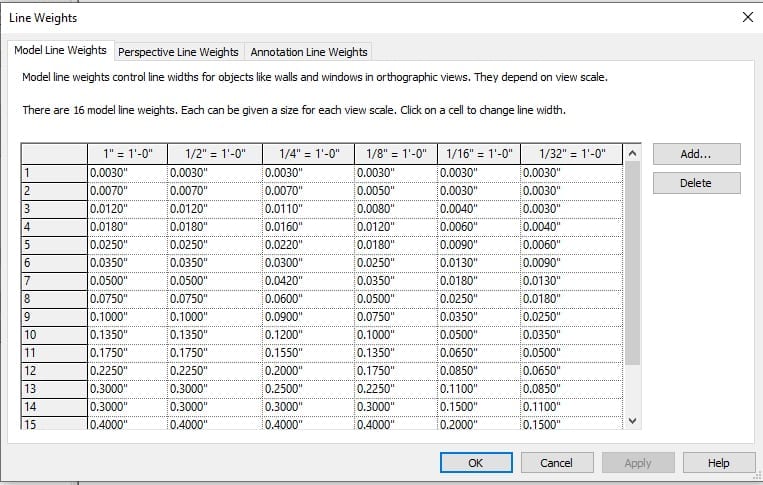
Another great feature of Revit’s lineweights is that they change based on the scale you select for the view, which helps to keep things a lot clearer. You can find all these values under Manage – Additional Settings – Lineweights.
Lineweights are a very important part of every drawing (not only digital drawings, but also hand-drawn plans). They can make or break the drawing/sketch, so it is a good idea to spend some time defining them to make sure all your drawings are as clear and understandable as possible.