
May
Revit Visual Styles
Displaying objects in Revit in different ways (visual styles) can help improve our workflow and help us understand our models better, and that’s why we need to learn the ins and outs of each one of them so we can use them in the correct situations.
First of all, Revit offers 6 default visual styles: wireframe, hidden line, shaded, consistent colors, realistic and Raytrace. Additionally, Revit allows you to create your own visual style with plenty more options that will certainly create a unique look, but we will take a look at these custom options in a different post.
Let’s take a look at these default Revit visual styles and talk about a few examples of when these would be useful.
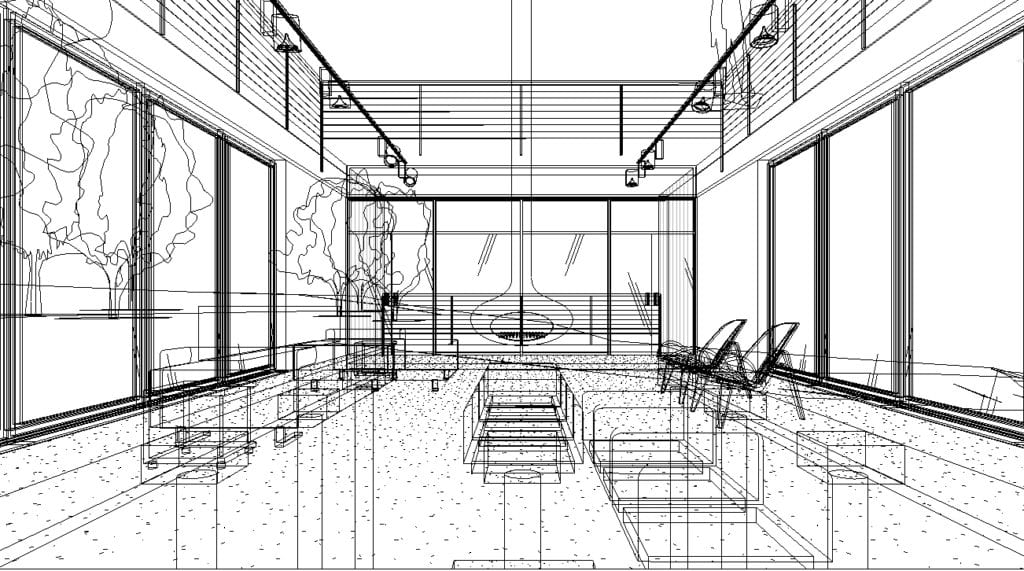
- Wireframe: this visual style shows all the objects in the scene as if they were transparent. Basically, we can see all the lines of all objects, regardless of whether they are in front or in the back. This visual style is very useful to select objects that are behind other objects without having to go to another view. It is a good way to work when the project is small/medium. As the project becomes larger and more families are inserted into it, things start to become a lot more difficult to read in this mode, and we would need to use other methods or visual styles to accomplish our task (you can even use the section box to reduce the amount of visual clutter in this mode, although we won’t cover it here, but it’s worth looking it up)
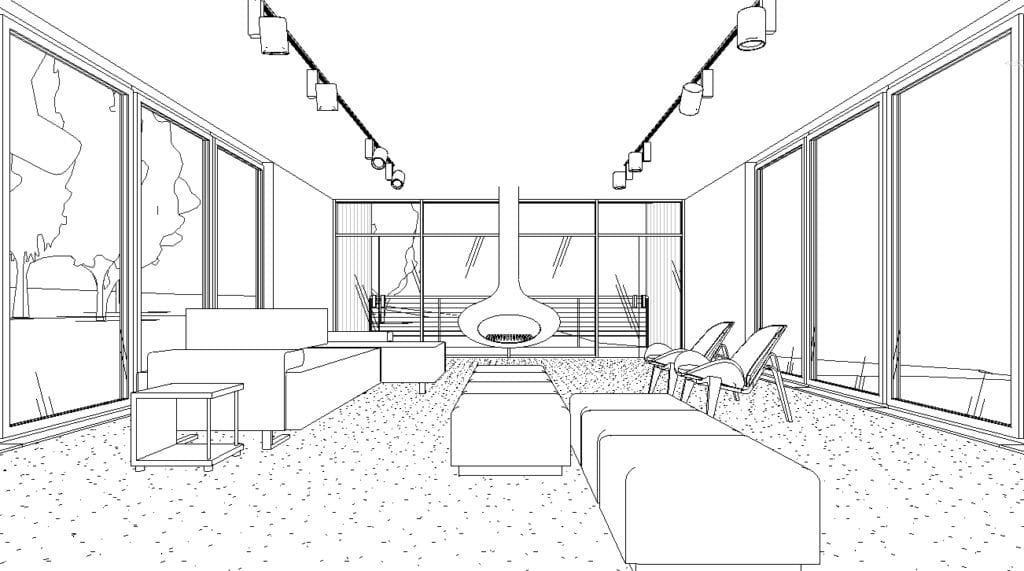
- Hidden line: This is the default visual style in Revit. It displays the objects in black and white and it also includes any texture that’s applied to the objects in the Graphics tab of the Material Browser. Also, objects that are in front will occlude objects in the back, which makes the project feel solid (more 3D) and a lot more understandable visually, especially with the textures. This is a great mode to use for construction documents since it basically shows the objects the way we represent them when we print them.
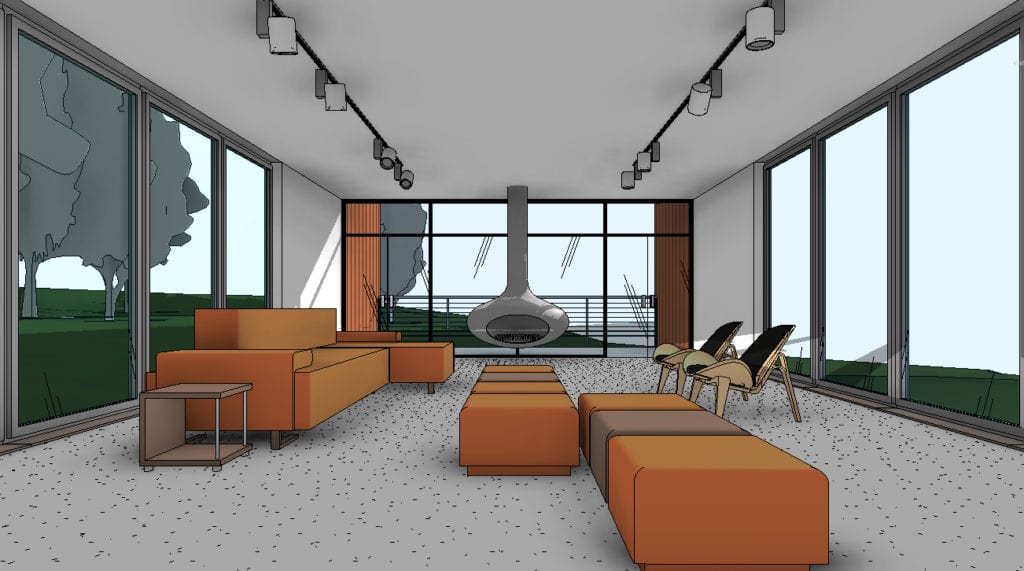
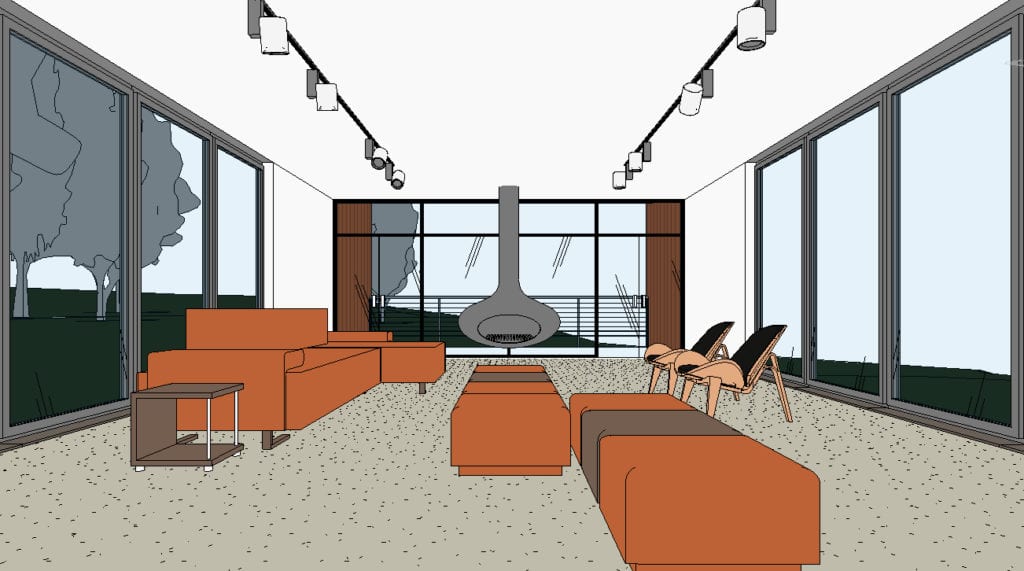
- Shaded: This mode adds color to the mix, and it also displays the textures applied to the objects in the Graphics tab of the Material Browser. The color displayed in this mode also comes from the Graphics tab in the Material Browser, and it is important to mention that this color can be totally different than the color the object renders in (which is defined in the Appearance tab of the Material Browser). Additionally, this mode adds shading to the objects based on their orientation. This way, the face of the wall that faces the sun will be brighter than the one that faces away. This shading continues to add to the realism of the scene and it’s a step up from the hidden line mode. This mode and the hidden line are the most common styles to use all the time.
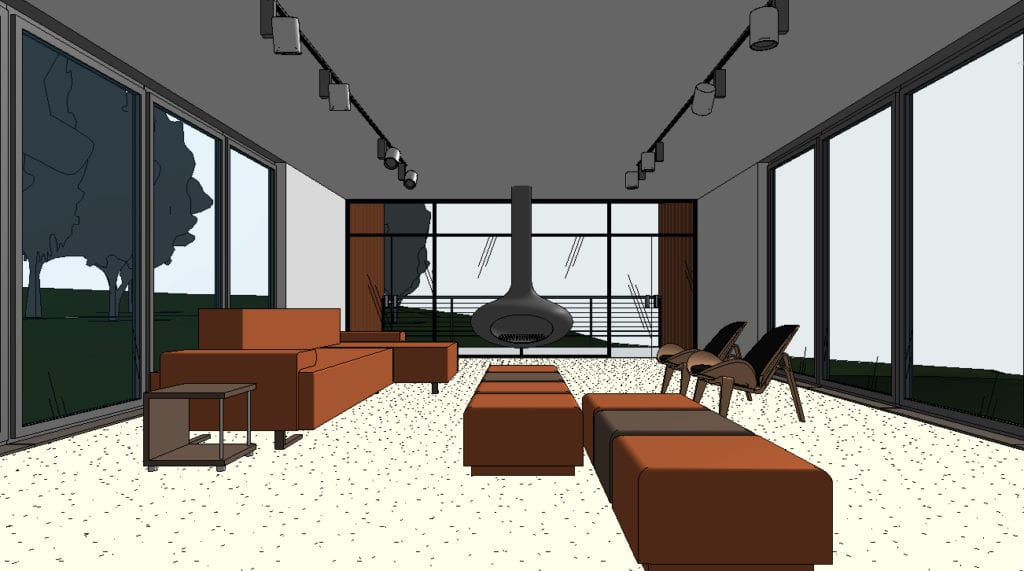
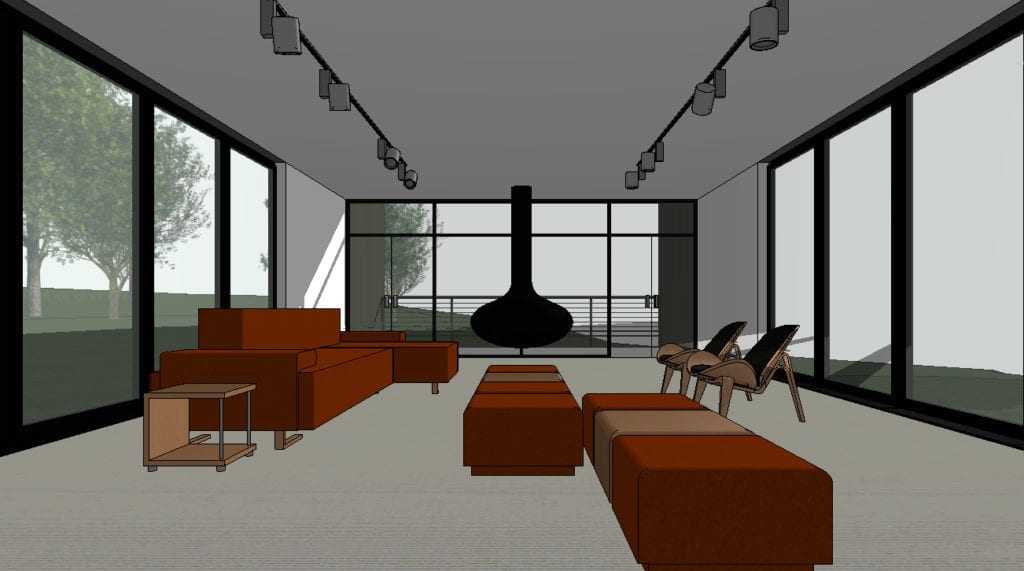
- Consistent colors: this would be the same as the shaded mode, except that there is no shading based on orientation. All objects, regardless of their position/orientation will have the same color (the one defined in the Graphics tab of the Material Browser). This visual style reduces a little bit the 3D effect of the objects because of the lack of shading, but there is a reason for it: clarity of the materials. When using the shaded mode, a white color will look gray if it’s not being directly hit by the lights. This can cause a lot of confusion, especially when working with materials since our eyes can get tricked to believe that it’s a totally different material. Especially when we are working with a color palette that’s very similar in hues, the consistent color mode will prove to be very effective to understand the project better while still seeing the project in color.
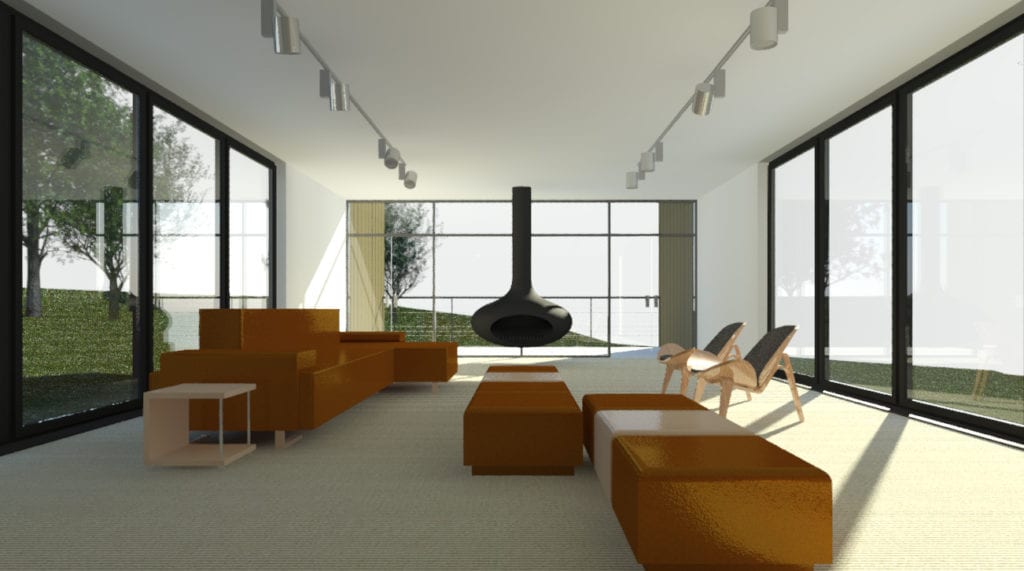
- Realistic: this is usually the preferred visual style by most users (especially new users) since it displays objects with the real textures and colors they will be rendered in. While it shows a more accurate representation of the rendered version of the project, this mode eats up a lot of your computer resources, especially if it’s a medium-large project. This visual style is great to adjust materials (scale, positioning, repetition), but it should be only used for that (to get our materials looking right). This is definitely not a visual style for everyday use, but a visual style to evaluate our materials and to get a quick glimpse at how our renders will look (in a simpler way that doesn’t include light bounces, shadows or advanced rendering options). Even though I’ve mentioned it before, it is important to stress that this style should be used sparingly (only when working with materials), so if you are using it for everything and you feel your computer is lagging, you already know the reason.
- Raytrace: This is the most complete visual style that Revit offers and it’s only available in 3D/camera views. It is basically a full real time render of the project. The downside as you can imagine is that it is the slowest of all the visual styles and it’s practically impossible to work with it. Instead, it is a better idea to use the render tool to see a rendered result, only when we need to, as opposed to all the time. If you leave your computer often, this mode will give you a render of the project every time you come back to it (depending on how long you’re gone). This way, you don’t have to fire up a render every time you leave your computer. Still, even though Revit offers this mode, it should be avoided at all costs since it will dramatically slow down your workflow.
These six visual styles will certainly cover most of your visualization needs and you should use them wisely (based on the project, based on what you need to do and based on the amount of computer resources they take). Additionally, you can activate the shadows in the viewport to add an extra level of realism (shadows are not available in wireframe mode though), but keep in mind that the more things you add to the mix, the more computer resources you will be using. Yes, shadows make things look better and more realistic, but they should not be activated when working on the project; they are good for presentation purposes for example.
One last important thing to mention is that the order in which these visual styles was presented represents the amount of computer resources that they will take, where wireframe is the fastest way to work and raytrace the slowest. Master these visual styles to increase your productivity and improve your workflow.
For information about specifying visual styles in Revit, check out this Autodesk Knowledge Network page